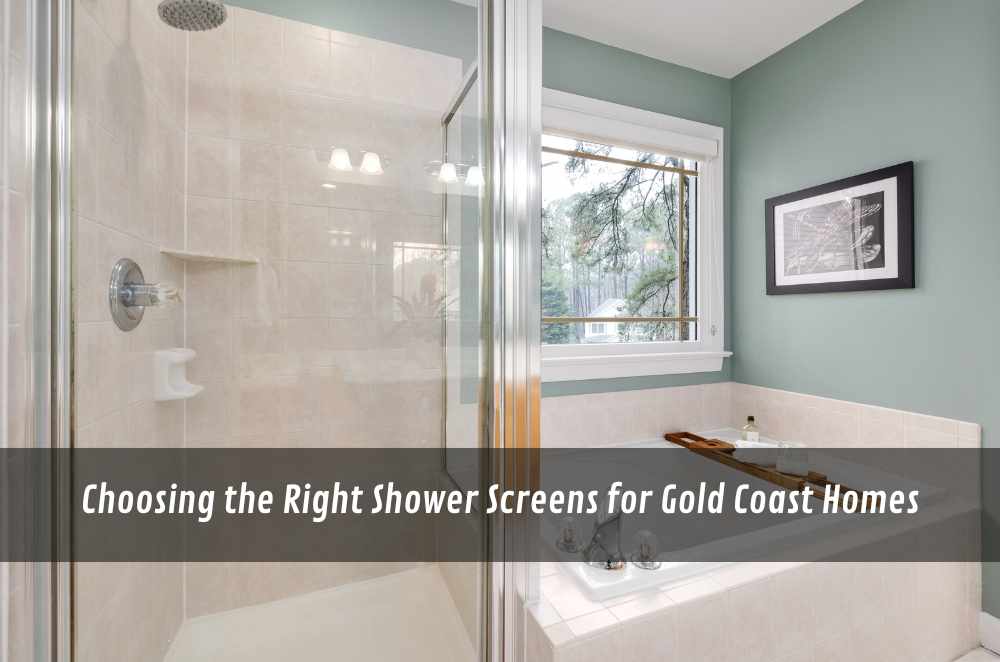
Renovating a bathroom always brings up one big question: how do you balance style with practicality? I asked myself that exact question during my last upgrade, and I kept circling back to the frameless curved shower screen. The clean lines, the subtle curve, and the openness it created made a noticeable difference. It wasn’t about adding something flashy—it was about choosing a feature that made the space feel cohesive and light. That subtle enhancement helped tie together every other element in the room, from the tilework to the natural lighting. If you’re exploring ways to modernise your bathroom without going overboard, this type of screen might just be the answer.
Why curved frameless screens are gaining popularity
There’s a shift happening in bathroom design. Straight edges and bulky frames are making way for smoother, simpler lines. That’s where curved frameless screens step in—they soften a room without sacrificing usability. Whether you're working with a tight ensuite or a large family bathroom, this design adapts well.
Here’s why they’re in demand:
Space efficiency for smaller bathrooms or unique layouts
Seamless visibility that opens up the room
Reduced metal components for easier maintenance
Contemporary appeal across a range of styles
The curve not only serves an aesthetic purpose—it also enhances water containment. With a well-designed floor gradient and appropriate screen curvature, the glass helps direct runoff toward the drain instead of spilling onto the tiles. That alone makes a difference in ongoing upkeep and safety.
There’s also a visual softness to curves. Where framed rectangular screens can look rigid, a curved frameless one blends into the background. It allows patterned tiles, feature lighting or floating vanities to take centre stage.
Step-by-step considerations before installation
Before getting a frameless curved screen installed, there are a few checkpoints worth covering. I learned the hard way that curved panels are less forgiving when it comes to surface alignment and layout planning.
Here’s a practical checklist to guide you:
Measure precisely – Both wall plumb and floor level must be verified
Confirm door clearance – Sliding or pivot hinges require specific spacing
Choose glass finish – Decide on clear, frosted, or tinted based on privacy needs
Review water runoff – Ensure the curve aligns with your floor waste position
Check for certified glass – 8–10mm tempered safety glass is the standard
If you’re working with sloped ceilings or niche layouts, custom glass may be required. While more costly, it’s often the best route for a proper fit. I had mine made to order, and it aligned perfectly with the drop-edge of my recessed shower floor. That detail alone made maintenance easier and helped avoid sealant failure later down the line.
It’s also wise to check wall materials. If your bathroom uses lightweight cladding or aged brick, reinforcement might be needed where hinges or brackets will mount.
Materials and compliance for quality assurance
Material standards are often overlooked during renovations, but they matter more than most realise. Glass is glass, right? Not quite. When you’re dealing with frameless installations—especially curved designs—the durability and compliance of materials become essential.
I came across the Department of Climate Change, Energy, the Environment, and Water’s breakdown on glass specifications, and it changed how I thought about bathroom glass. Their standards help distinguish between everyday glass and safety-treated products fit for residential use. It’s the kind of detail that doesn’t show up in showrooms but makes a big difference in long-term performance and sustainability.
Tempered glass, for instance, isn’t just heat-treated for strength. It also breaks in a granular, non-jagged pattern if it fails, making it much safer. Laminated glass, on the other hand, is more resistant to penetration and is often used where security or soundproofing is needed. Knowing the difference can help you ask the right questions when speaking to a glazier or showroom consultant.
It’s also worth checking local building codes, especially for multi-dwelling projects. Specifications around edge finishing, bonding adhesives, or maximum panel weight may apply.
Lessons from the field: what actually worked
After choosing my screen, I tried to handle the setup myself—until I realised just how exacting the process was. Thankfully, I brought in a licensed glazier who walked me through everything. What stood out most? The precision involved in anchoring the glass without damaging it.
They also shared some handy diamond shower screen installation tips that I hadn’t come across online. For example, how to sequence your tiling so that the glass rests cleanly without requiring added sealant layers. These insights didn’t just help with the install—they’ll help with future maintenance too.
A few things that helped during my install:
Dry-fitting before sealing – This caught a slight mismatch in the shower base arc
Protective film on glass edges – Prevented microchips during drilling
Adjustable brackets – Helped absorb wall irregularities
Two-person lift – Curved panels are awkward; one set of hands won’t cut it
Taking the time to do it properly also meant I didn’t need extra corner guards or splash trims later on. Everything sealed flush on the first go.
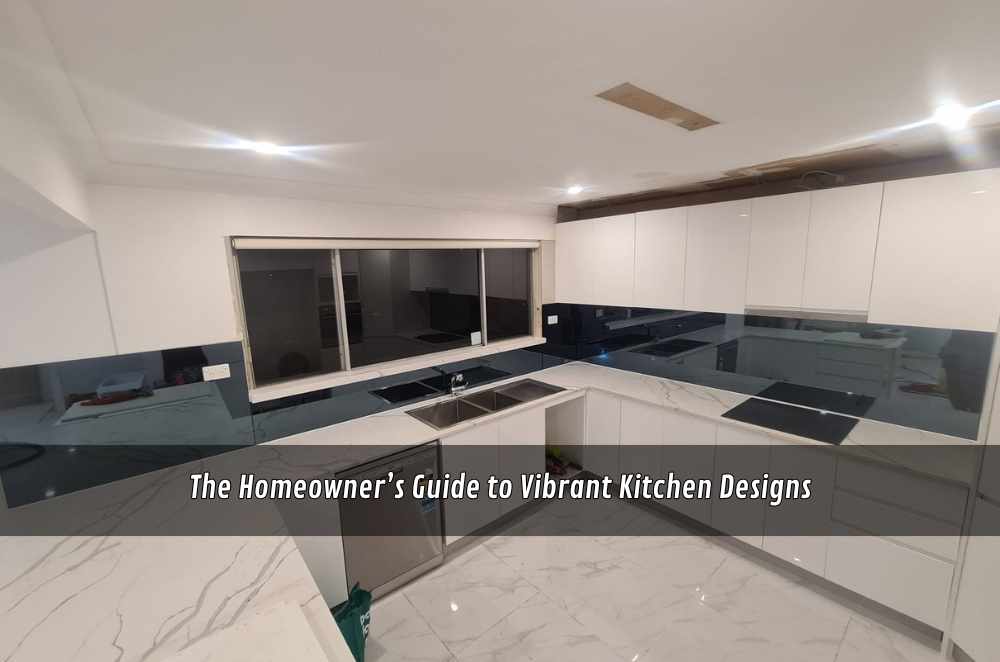
Style pairing and long-term satisfaction
Once your screen is in, you’ll want it to complement the rest of your bathroom. I chose brushed brass brackets to contrast against matte white tiles, and it worked better than I expected. The key is subtle layering—not overwhelming the space.
One way to make your screen a statement piece without being loud is to build a lighting plan around it. For example, warm LEDs behind a wall recess or above the shower arch can bounce beautifully through the curved glass, especially at night. It adds a soft glow that feels spa-like without needing candles or bulky light fixtures.
I also spent time collecting modern bathroom design ideas that matched my curved shower setup. Inspiration from architectural blogs helped me choose fittings and textures that felt unified. The result wasn’t over-designed—it was balanced.
Some materials that work well with curved glass:
Terrazzo flooring – Its natural speckle softens the scene
Wall-hung vanities – Keeps the floor clear for that open feel
Natural timbers – Adds warmth against cool glass tones
Brushed metal fixtures – Less reflective than chrome, more refined

Final thoughts: subtle design, major impact
Choosing a frameless curved screen might seem like a small upgrade, but it changes how a space feels and functions. For me, it brought lightness and sophistication without needing a full-scale renovation. If your goal is a clean, functional bathroom that feels curated rather than crowded, this is one feature worth considering.
What impressed me most wasn't the product—it was how the space responded to it. The tiles looked brighter, the mirror reflected further, and even the acoustics softened slightly. It’s one of those subtle design choices that pulls everything together without demanding attention.


Write a comment ...